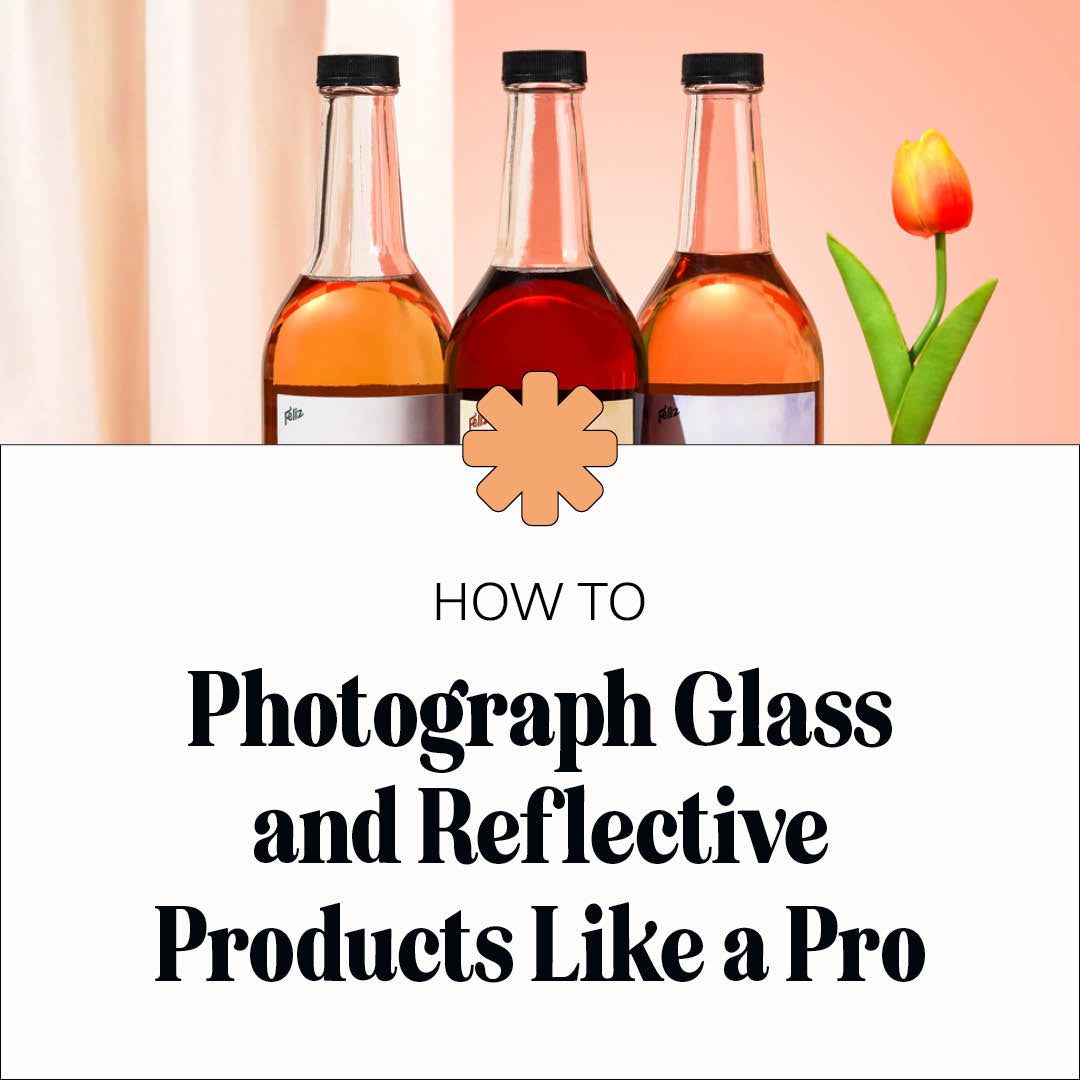
How To Photograph Glass and Reflective Products Like a Pro
Glass and reflective products such as jewelry and beauty products present unique challenges and opportunities for product photographers. Their transparency and reflective surfaces require specialized techniques to achieve stunning visuals that showcase the product's elegance and allure. In this guide, we'll delve into the essential aspects of photographing glass and reflective items like a professional.
Understanding Lighting Techniques
Soft Lighting for Clarity and Depth:
To prevent harsh reflections and glares on glass surfaces, opt for soft, diffused lighting. Diffusers, softboxes, or shooting during overcast days can help create even, gentle lighting. This soft illumination preserves the transparency of glass while revealing intricate details.
Backlighting for Radiance:
Backlighting, where light is positioned behind the glass object, can create a luminous halo effect. It enhances the outlines of the product, giving it a radiant, ethereal quality. Use this technique to emphasize the product's form and elegance.

Mastering Reflection Control
Polarizing Filters:
Polarizing filters are indispensable when photographing glass. They reduce unwanted reflections and increase color saturation. By rotating the filter, you can control the level of reflection and reveal or conceal underlying textures.
Black Reflective Surface:
Place a non-reflective black surface, such as foam board, under the glass product. This absorbs reflections, preventing them from bouncing back into the camera lens.
Setting The Stage
Choosing the Background:
Opt for neutral backgrounds like white or grey. These colours won't distract from the reflective product and provide a clean, minimalist look. If you want to create a mood or theme, use lightly coloured backgrounds.
Composition:
Consider the composition carefully. Complement the product with complementary elements, textures, or other objects that enhance its appeal. Experiment with angles to capture reflections in unique and artistic ways.
Tip: Boost your product photos with these essential composition tips.

Camera Settings and Equipment
Aperture Control:
Use a small aperture (higher f-number) to maximise depth of field. This ensures that both the foreground and background remain in focus, accentuating the product's details.
Tripod and Remote Shutter Release:
For sharp, shake-free shots, use a tripod and a remote shutter release or a self-timer. This prevents camera movement that could blur the image during longer exposures.
Post-Processing Magic:
In post-production, fine-tune your glass product images. Adjust brightness, contrast, and colour saturation to highlight the product's brilliance. Remove any distracting elements or blemishes to achieve a polished final result.
Tip: See our Top Masterful editing tips for jaw dropping product photography here.

Experiment and Learn:
Photographing glass and reflective products is an art that benefits from experimentation. Try different lighting setups, angles, and compositions. Learn from each shoot, and don't hesitate to refine your techniques to achieve the perfect shot.
In conclusion, photographing glass and reflective products requires a blend of technical skills, creativity, and patience. With the right equipment and techniques, you can capture the elegance and allure of these items, creating visually stunning images that leave a lasting impression.
Cubie Props is here to assist you in your product photography journey. Explore our range of photography props and backdrops designed to elevate your product photography to the next level.


