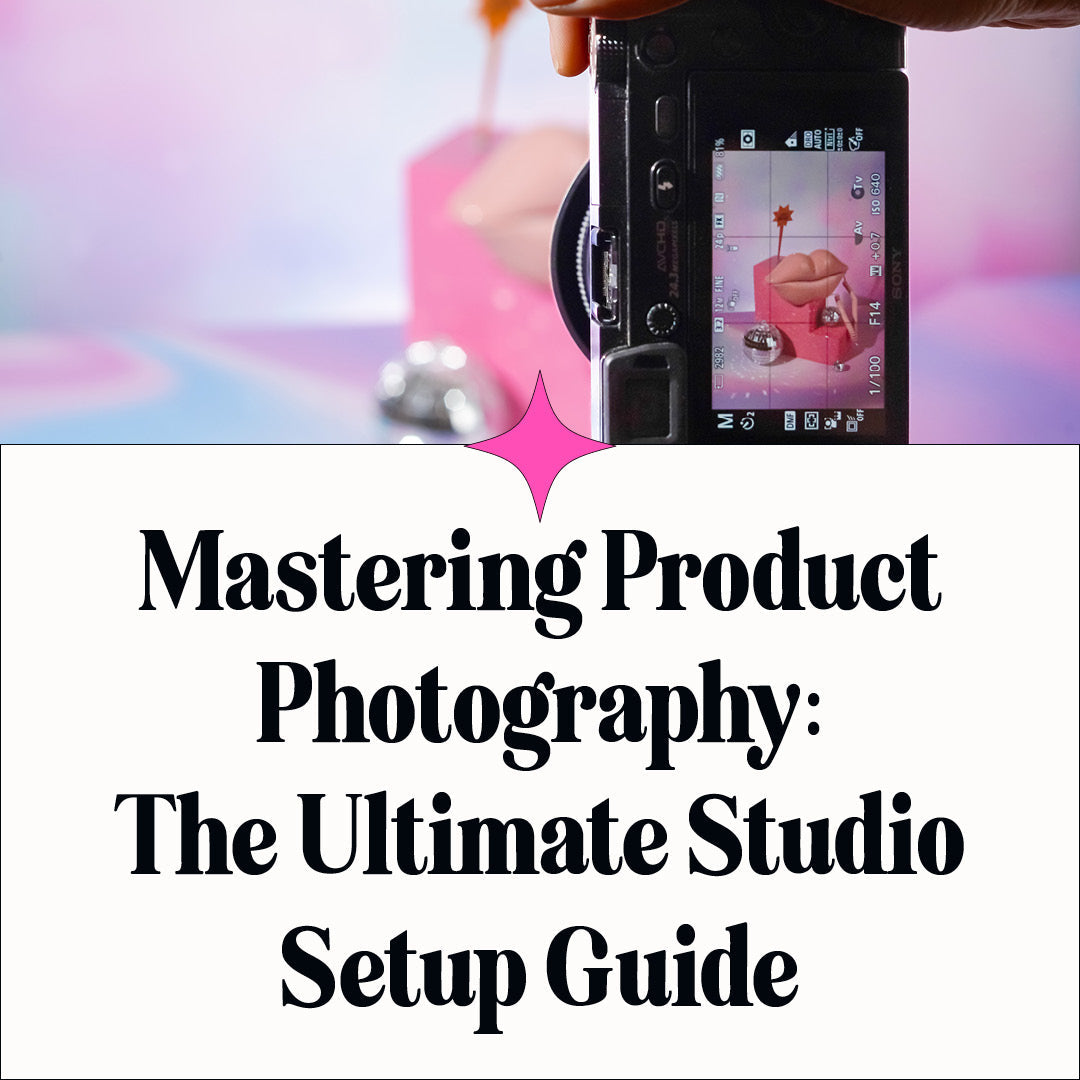
Mastering Product Photography: The Ultimate Studio Setup Guide
Welcome to the enchanting world of product photography! Whether you're a seasoned photographer or just starting out, transforming your creative ideas into stunning visuals is the name of the game. But let’s be real—getting from the first spark of inspiration to that final, flawless shot can sometimes feel like trying to untangle a mess of camera cables. But fear not! With the right studio setup, you and your team can unleash your inner creative geniuses and capture beautiful shots that will leave an everlasting impression on any client.
Ready to create magic? Let's dive in.
Step 1: Declutter Your Workspace
First things first—clear the clutter! A tidy space equals a tidy mind (and trust us, it makes a world of difference when you’re trying to focus on getting the perfect shot). Start by removing any items that don’t serve a purpose in your photography process. Whether it's that pile of old magazines or the random collection of coffee mugs, if it’s not helping you, it’s hindering you.
A clean, organized workspace not only boosts your productivity but also creates a more inviting environment for creativity to thrive. Plus, it’s way easier to find that rogue lens cap when it’s not buried under a mountain of stuff!
Step 2: Gather Your Gear
Next up—assembling the dream team. We’re talking about your camera, props, tripod, lighting, backdrops and any other equipment you can’t live without. Having all your gear at the ready means less time scrambling and more time shooting.
Pro tip: Before each shoot, make a checklist of the equipment you'll need. This helps ensure that nothing is forgotten (because there’s nothing worse than setting up the perfect shot only to realize you left your favorite lens at home).
Step 3: Set Up for Success
Now that your space is decluttered and your gear is gathered, it’s time to set up your studio space. The goal here is to create a layout that maximizes efficiency and minimizes distractions. Think about your workflow: Where will you place your camera? Where’s the best spot for your lighting? How can you arrange things so that moving from one task to the next is as seamless as possible?
Every photographer's space is different, but one thing is universal—efficiency is key. Whether you’re working in a cozy corner or a sprawling studio, setting up your space thoughtfully will save you time and frustration in the long run.
Step 4: Organize Your Workflow
Let’s talk about the unsung hero of a successful shoot—organization. Before you start snapping away, create a detailed workflow plan. This should include the purpose of each photo, a list of items needed for the shoot, and an estimated time frame. Not only will this keep you on track, but it will also help you stay focused on the end goal: capturing stunning, purposeful images.
A well-organized workflow allows you to be more creative because you’re not constantly second-guessing what comes next. Instead, you can focus on experimenting with angles, lighting, and composition to get the perfect shot.
Step 5: Get Organized with Storage
Here’s where we get really serious about organization. Use labeled storage containers for all your items and props. This may sound a bit OCD, but trust us, it’s a game-changer. When everything has its place, it’s easier to find what you need, which means you can focus on being creative rather than wasting time searching for that one elusive prop.
Plus, an organized space helps you feel more in control, which can make the entire photography process feel less overwhelming.
Step 6: Maintain a Logbook
Remember that time you nailed the perfect shot and couldn’t quite remember how you did it? Enter the logbook—a simple yet powerful tool to keep track of your progress during each shoot session. Note down your camera settings, lighting setups, and any other details that contributed to the success of your shots.
Not only does this help you replicate your success in future shoots, but it also serves as a handy reference guide when you’re troubleshooting or trying to achieve a similar effect.
Step 7: Wrap It Up in Style
After the shoot, don’t just pack up and call it a day. Take a few minutes to tidy up your workspace. Put away your props, store your backdrops, and make sure your equipment is in its rightful place. This not only sets you up for success in your next session but also helps maintain the longevity of your gear.
Wrapping up in an organized fashion leaves you feeling accomplished and ready to tackle your next photo adventure with a clear mind and a clean space.

Final Thoughts
At Cubie Props, we’re all about helping photographers like you turn vision into reality. By following these steps, you’ll create a studio setup that’s not only organized and efficient but also brimming with creative potential. So go ahead, declutter that workspace, gather your gear, and get ready to create some photographic magic. With the right setup, there’s nothing stopping you from capturing shots that wow your clients and make you proud.
Happy shooting!

