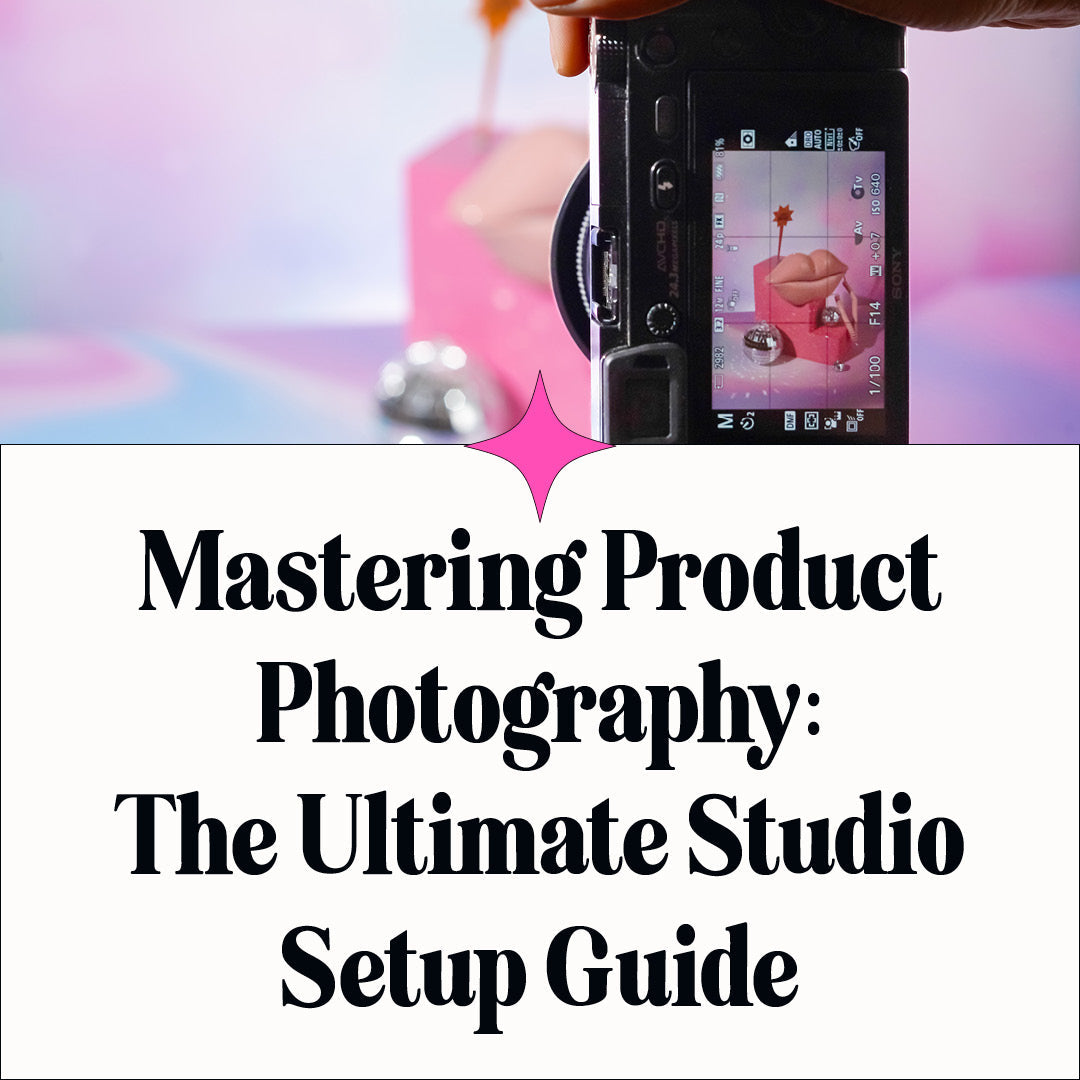
6 Top Product Photography Tips for E-commerce Success
In the visually-driven world of e-commerce and digital marketing, the power of product photography cannot be overstated. High-quality images are not just a part of your brand's aesthetic; they are a vital tool in capturing customer attention and driving sales. With the surge in online shopping, your product's first impression is often made through a photograph. This makes it crucial to master the art of product photography.
Effective photography not only showcases your product but also elevates your brand's online presence. Explore these top product photography tips to capture compelling images that convert viewers into buyers.
Understanding Your Equipment
Selecting the right camera and lenses is a foundational step in product photography. For beginners, it's important to find a balance between quality and ease of use. DSLR and mirrorless cameras offer versatility with interchangeable lenses, allowing for more control over depth of field and composition. However, don't underestimate the power of modern smartphones. Their advanced camera systems are more than capable for those just starting out.
Additionally, investing in essential accessories like tripods can greatly enhance the stability and professionalism of your shots. Remote shutters, another invaluable tool, allow for sharper images by eliminating camera shake during capture. Incorporating top product photography tips related to equipment can lead to higher quality images. This combination of the right equipment and accessories lays the groundwork for capturing high-quality product images.

Mastering Lighting Techniques
Lighting is a critical element in photography, setting the tone and mood of your product images. Understanding the basics of lighting involves recognizing the difference between natural and artificial light. Natural light, soft and diffused, is ideal for beginners and can create a warm, authentic feel.
In contrast, artificial lighting, like studio lights, offers more control and consistency. It's essential to experiment with both to see what best showcases your products. Utilizing lightboxes, diffusers, and reflectors can help soften shadows and evenly distribute light, ensuring your products are illuminated perfectly. Mastering both natural and studio lighting techniques allows you to highlight the best features of your products.
Setting Up Your Studio
rewrite this paragraph: Establishing a home studio for product photography is more straightforward than one might think. Begin by allocating a spacious area with ample natural light. You'll need a table, a tripod and selection of appropriate backdrops and props is pivotal in accentuating your product, a task made easier with the varied range offered by Cubie Props.
A meticulously arranged studio is fundamental for achieving consistent and polished product images. This involves careful selection of backdrops and props, strategic placement of lighting, and ensuring a tidy workspace. Following these product photography guidelines for studio setup can enhance workflow efficiency and elevate the quality of your photos.

Composition And Framing
In product photography, composition and framing are key to creating visually appealing images. Understanding the basics of photographic composition, like the rule of thirds, is fundamental. This rule involves dividing the image into thirds, both horizontally and vertically, and placing the product at the intersections of these lines for a balanced look.
Experimenting with different framing techniques and angles can also highlight your product's best features. Good composition and framing bring attention to your product and eliminate distractions. Utilizing the rule of thirds, leading lines, and symmetry are just a few composition techniques to enhance your product photography.
Here are our top tips for creating visually appealing and balanced images.
Post-Processing and Editing
Post-processing and editing are where your product photos can truly shine. Starting with basic techniques like adjusting brightness and contrast, you can significantly enhance your images. Dive into software options suitable for different skill levels, from beginner-friendly apps like canva to advanced tools like Adobe Photoshop.
While retouching, it’s crucial to keep the product looking authentic. Product photography tips like maintaining natural textures and avoiding over-saturation of colors ensure your product looks as close to reality as possible, fostering trust with your audience. This stage is about refining and polishing your images to make them stand out while retaining their true essence.
Want more editing tips? Check out our masterful editing tips here.
Practical Tips and Tricks
To elevate your product photography, consider shooting from multiple angles. This approach not only showcases your product comprehensively but also caters to different customer preferences. Be mindful of common mistakes like poor focus or incorrect white balance and learn how to avoid them.
For those on a budget, DIY solutions can be quite effective. Use homemade light diffusers or backgrounds, and get creative with natural light. These industry insights and tips will help you produce professional-looking photos without breaking the bank.

In conclusion, every click is a new opportunity to explore and express your brand's story. At Cubie Props we encourage you to embrace this journey with passion and curiosity. Experiment with different techniques, play with light and shadows, and use our diverse range of backdrops and props to bring your vision to life.
Remember, each photograph is a chapter in your photographic journey, a chance to improve, learn new skills and connect with your audience on a deeper level. So keep shooting, keep experimenting, and follow these product photography tips to help you master product photography and elevate your brand’s online presence.


